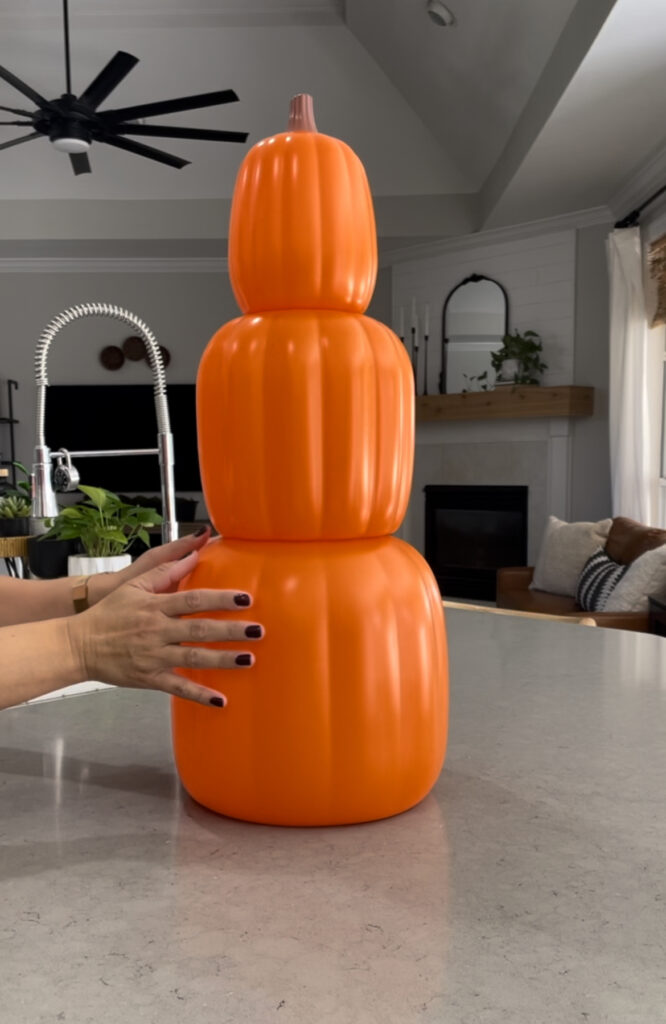
I came across these stacking pumpkins at Dollar Tree. They are 24 inches tall when stacked and are $5!! They are cute as is but I knew they could glow up into something a little more modern and stylish.
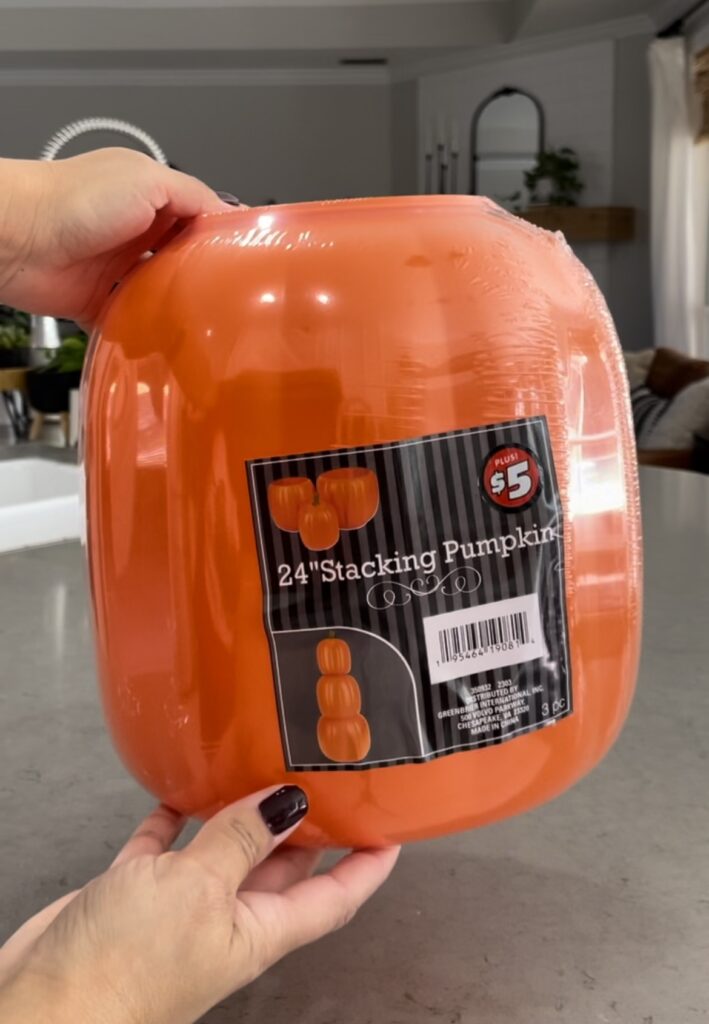
I love the terracotta look right now so I decided to make them over to look like the Pottery Barn black ones that sold out.
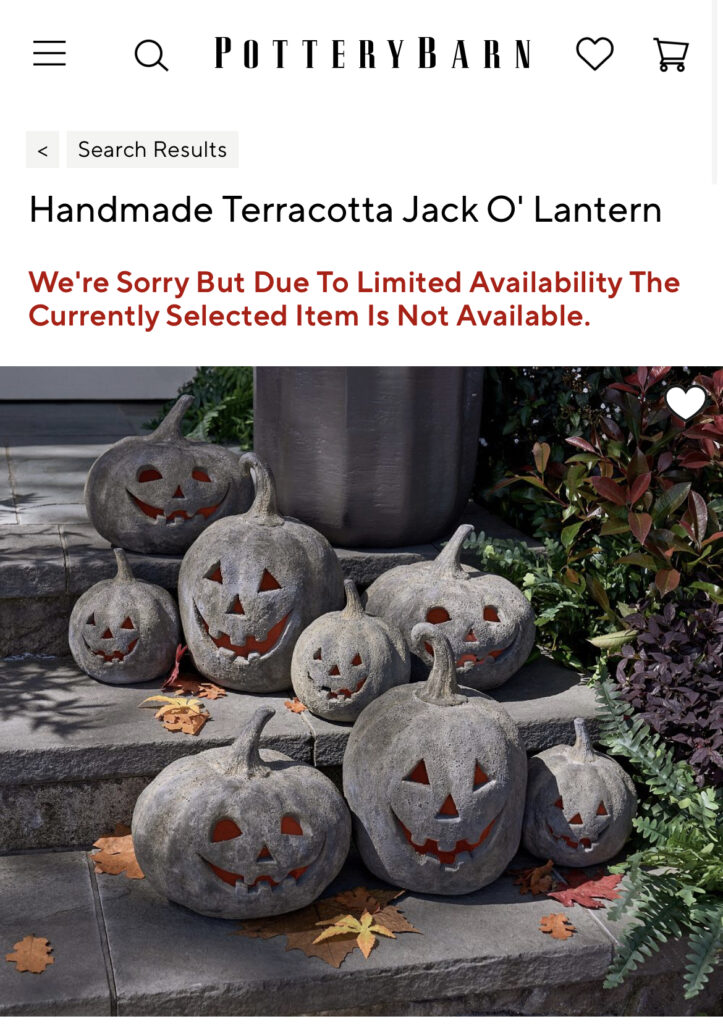
These remind me so much of cement pumpkins and look so good outside. The plan was to recreate this textured look.
Let’s take a look at what these Dollar Tree staking pumpkins looked like before.
supplies needed
- Stacking Pumpkins – you have to buy 12 online – get together with some friends
- Spackle
- Gloves
- Matte Spray Paint – I used Rustoleum in Matte Black
- Chalk
- Rag
- Optional – Air Clay to make a bigger stem
- Optional – Wire battery lights
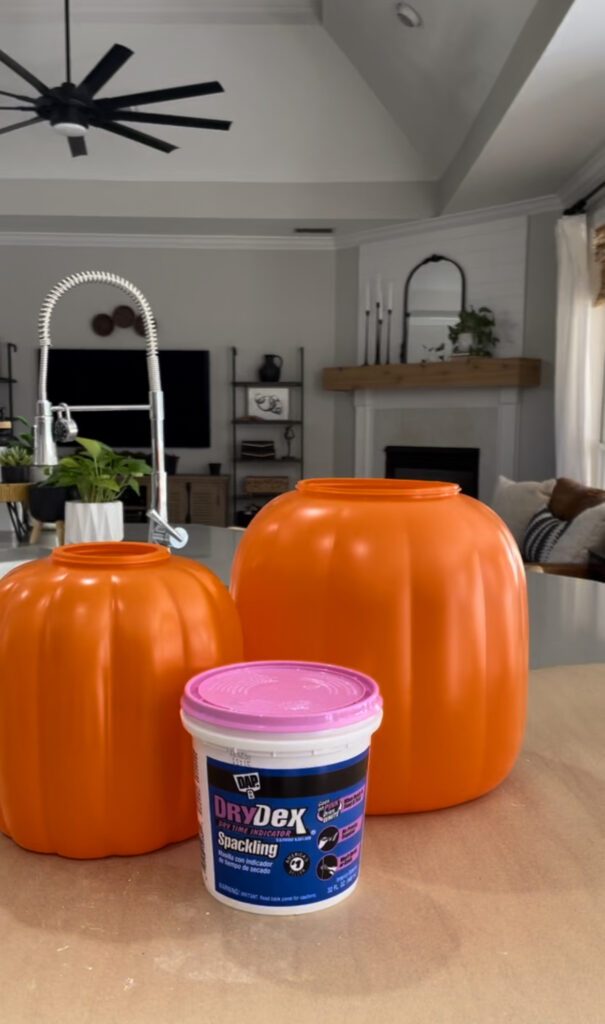
Adding texture was a lot easier than I thought it would be using spackle. We usually always have this stuff in the garage to fix small dings and holes but I got a bigger tub to use on a canvas. A DIY for another day. LOL. Using a glove I grabbed some spackle and smeared the spackle to the pumpkins in a vertical manner working my way around the pumpkin. I had a paper to catch the residue but overall it wasn’t messy at all. A lot less messy than the flour or baking soda route. The spackle goes on pink and dries white. It doesn’t take much to give the pumpkins texture. Play around and get creative.
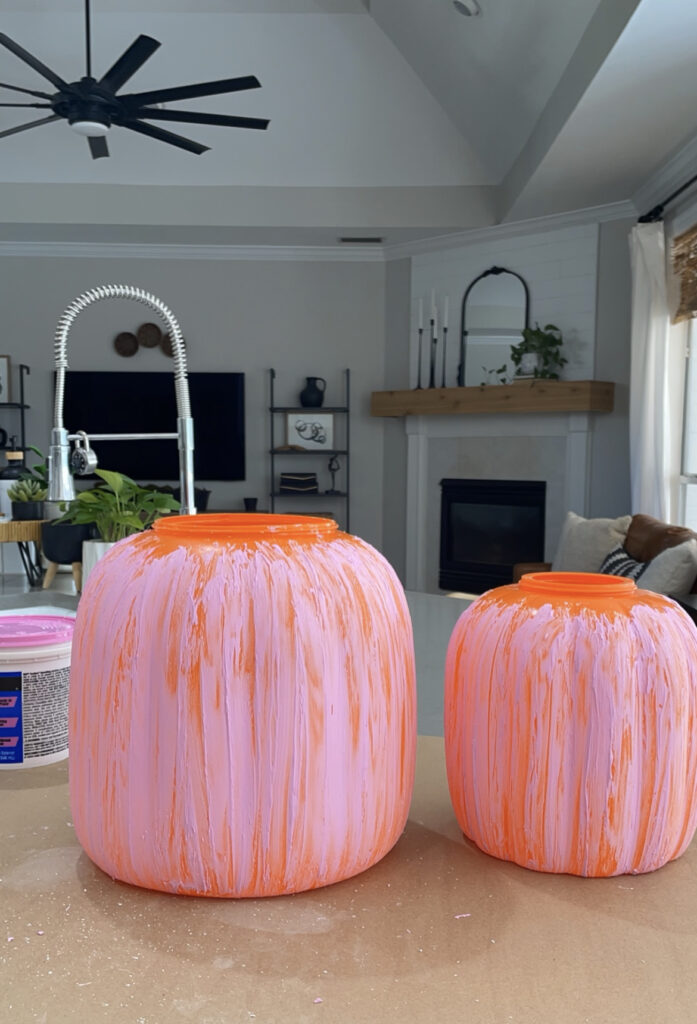
I spackled a total of 6 pumpkins and the remains on the paper were the residue. You can pat the spackle or layer it to give the pumpkins more texture.
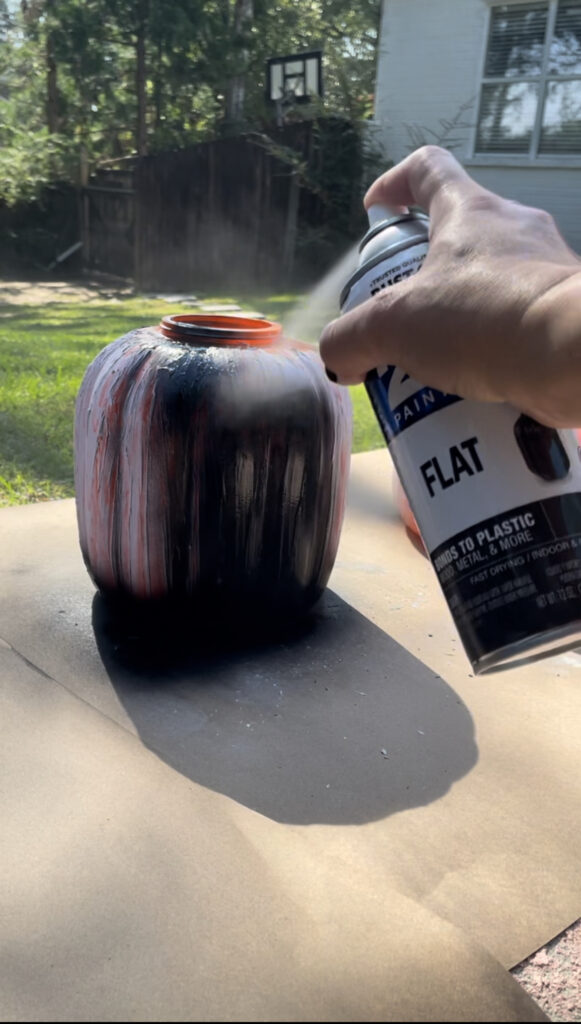
After the spackle was dry it was time to paint. Like I mentioned earlier I was going for the black terracotta look. A muted terracotta orange would look great. Pastel spooky is very popular this year too and having them in different pastel colors would also look darling. The possibilities are endless. Get creative and coordinate with your existing decor. Just make sure you use a matte sheen or chalk paint so that the next part works.
The Chalk
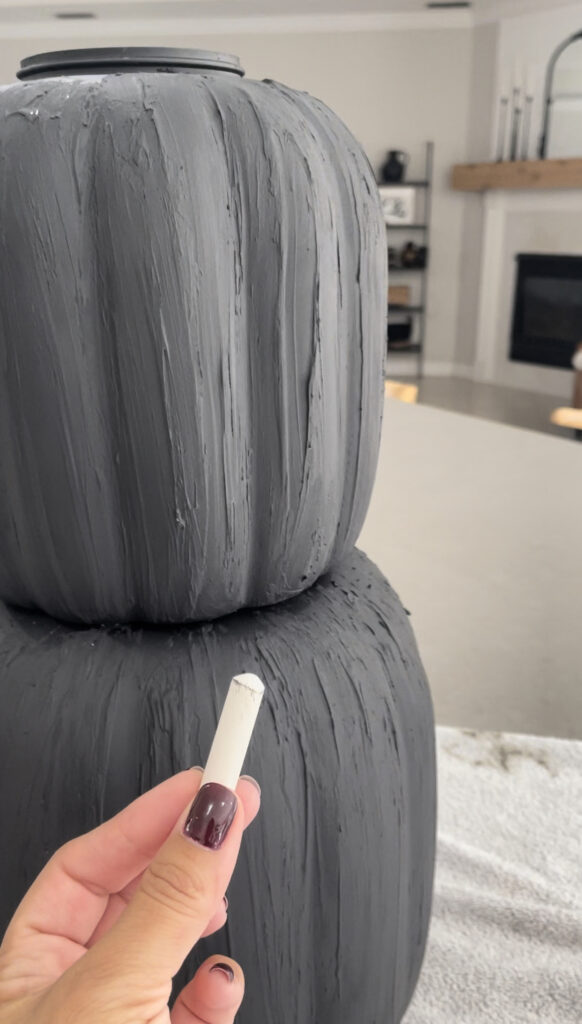
Look at that texture! I was so impressed with the spackle. The next part is adding dimension with chalk. Yes, basic white chalk.
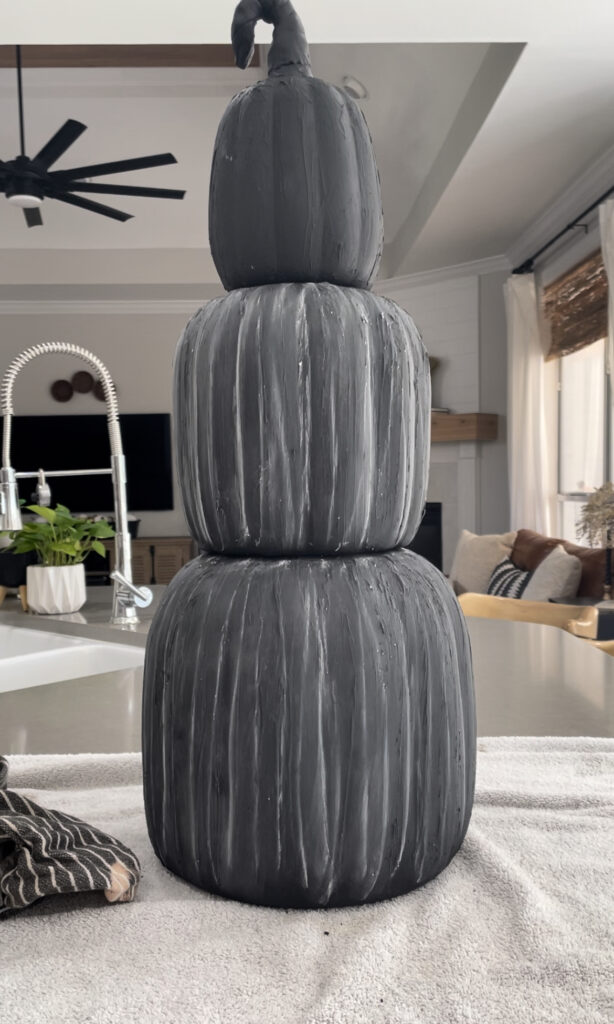
Draw some lines and then wipe them off with a rag. It’s that simple. Add as much dimension as you’d like. I started at the bottom and worked my way up so that the bottom pumpkin would ge the chalky resid
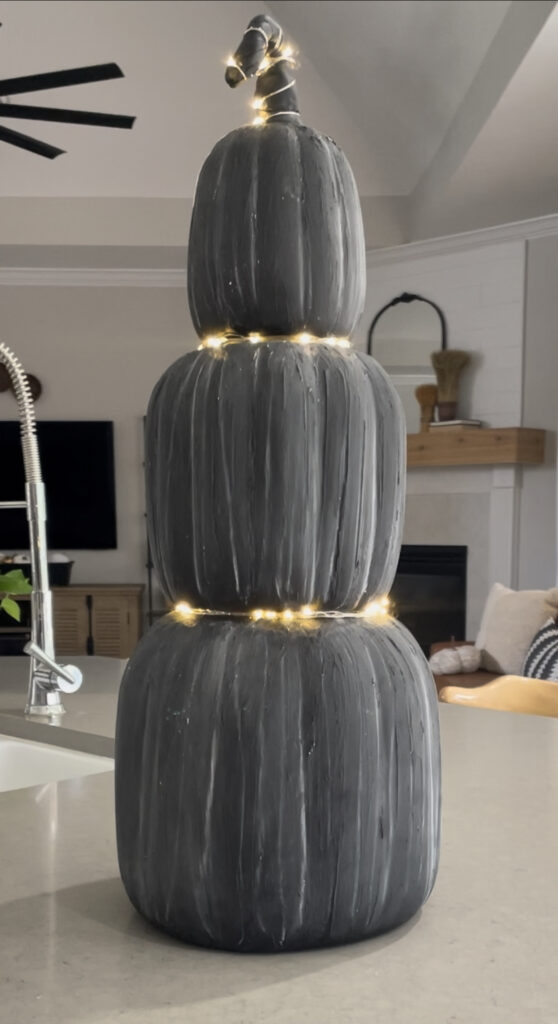
Tada!! Here is the final look on these stacking pumpkins from Dollar Tree. I decided to add some battery-operated wire fairy lights so that they would pop on the porch. The lights are on a timer and have a remote too. Simply drop the battery pack in as you stack the pumpkins and then twirl the wire in between.
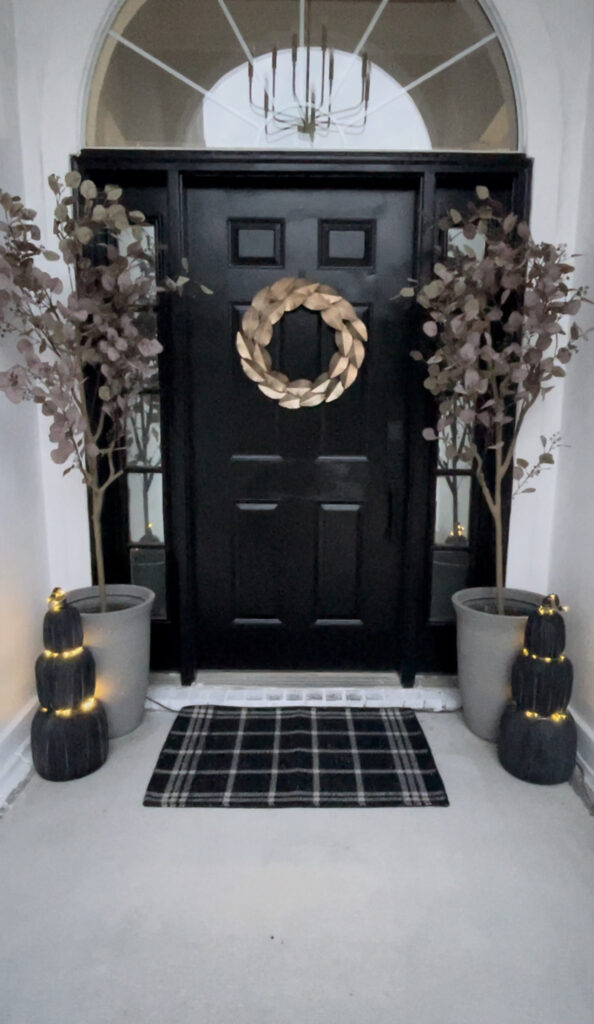
Looking back I wish I had snagged a couple more to play with colors and height. You can’t beat the price tag and the added bonus is that they stack into each other for easy storage. Win – win!!
If you want to skip the spackle and just paint and add dimension with chalk follow THIS DIY.
Please tag me or share your stacked pumpkins!! I would love to see them. Luci 🙂


Leave a Reply