Viral Pottery Barn black terracotta pumpkins for a lot less
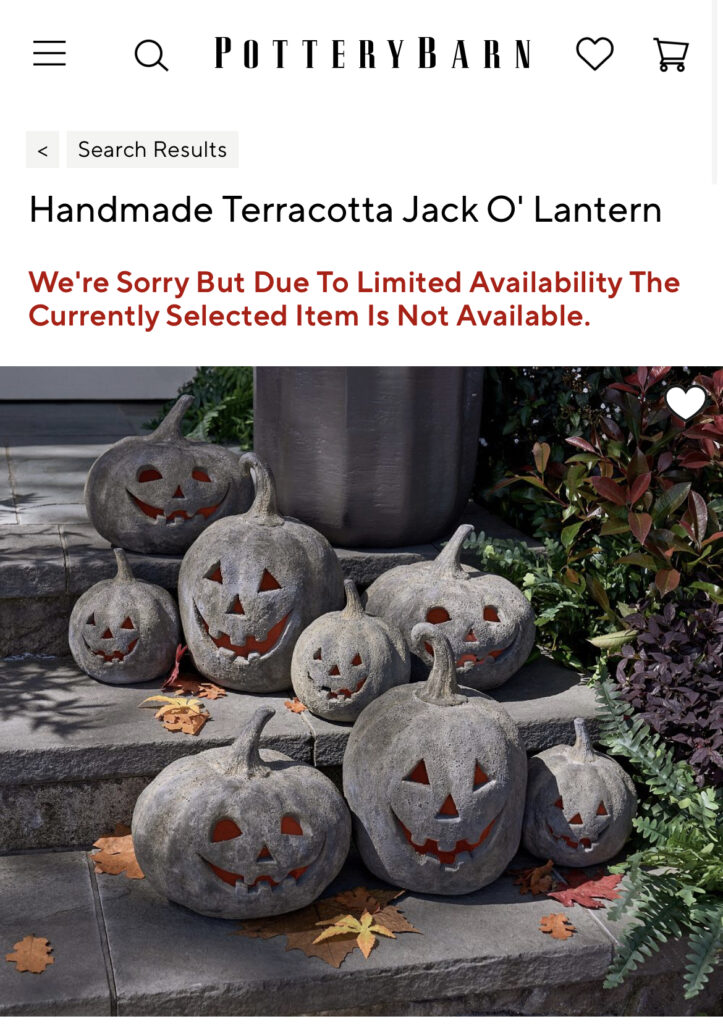
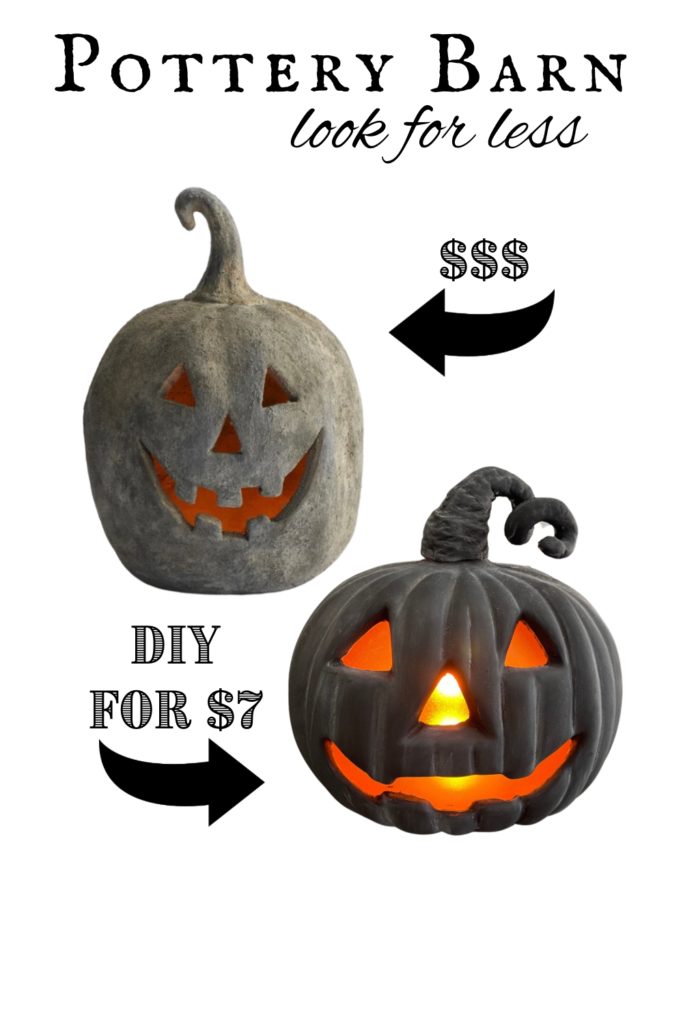
These black terracotta pumpkins from Pottery Barn are no longer available. In fact, they are selling on the black market for a ridiculous amount, and by black market I mean eBay and Mecari. Let me show you how you can make these viral terracotta pumpkins from Pottery Barn at a fraction of the price using Dollar Tree items.
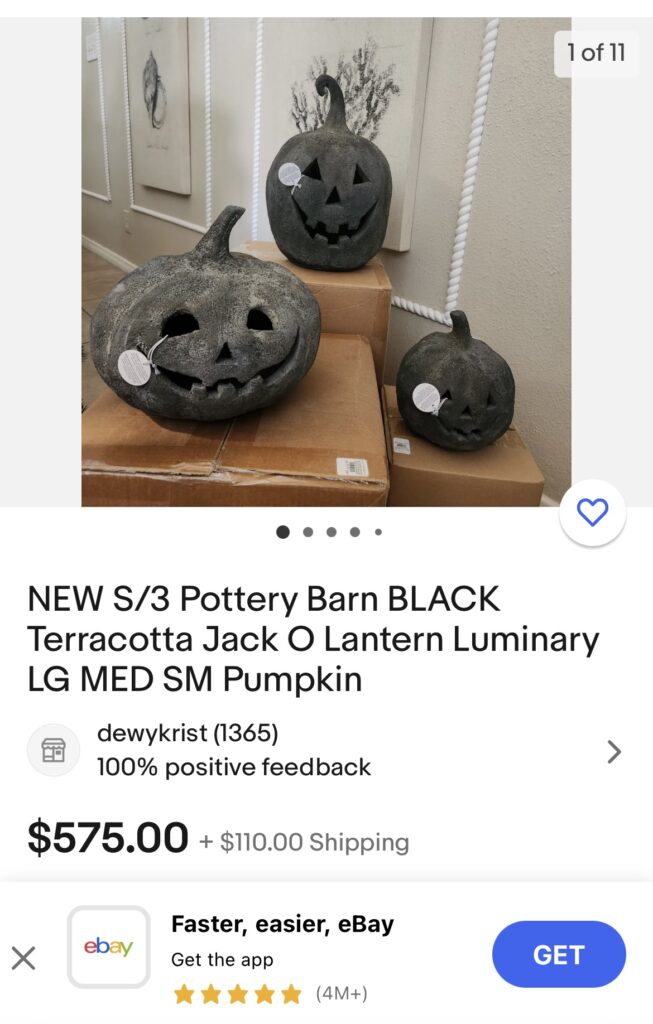
This post contains affiliate links, which means I receive a commission if you make a purchase using the links below. All opinions are my own.
Can you believe that price? I was blown away. I soon realized these pumpkins looked like the version I made last year.
Last year everyone had or knew about the Pottery Barn terracotta pumpkins. I have to admit they were beautiful but I didn’t want to spend the money on them. Plus they were not the color I wanted. I wanted a black version, so I had to DIY one. Here are the steps I used to make a black terracotta pumpkin.
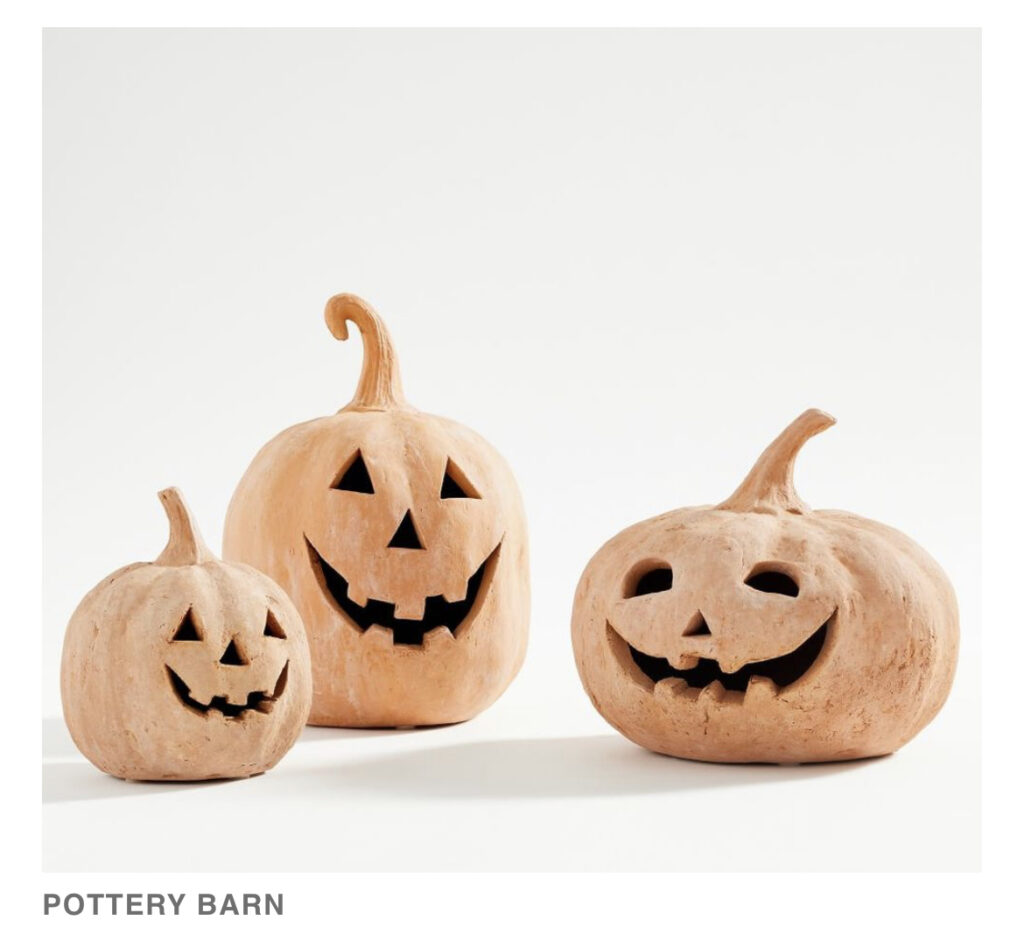
There were a lot of creators who replicated these pumpkins. Most creators replicated the Pottery Barn pumpkins using baking soda and flour. Although I liked the look I didn’t want to deal with the mess and so I came up with this version.
supplies needed
- jack o lantern pumpkin – here is one if you can’t find the $5 one at dollar tree
- modeling clay or air clay
- black chalk paint
- paintbrush
- chalk
- rag
I started with this $5 dollar light-up pumpkin from Dollar Tree, or the Dollar twenty-five Tree, as I now call it. These might be hard to find closer to Halloween. Here are a few from Amazon and At Home that were relatively inexpensive.
My favorite part of this DIY is the stem. Modeling clay from Dollar General or Crayola air clay works really well too. I just made some gold candlesticks using air clay. I hope to share that soon. Making a fun stem for the pumpkin is the statement piece to the pumpkin. This is your chance to get creative. You can make a long curved stem or a short curly stem. I went with the curly. The stem was made in two parts molded together. The first part is a rectangular shape that goes around the stem of the pumpkin.
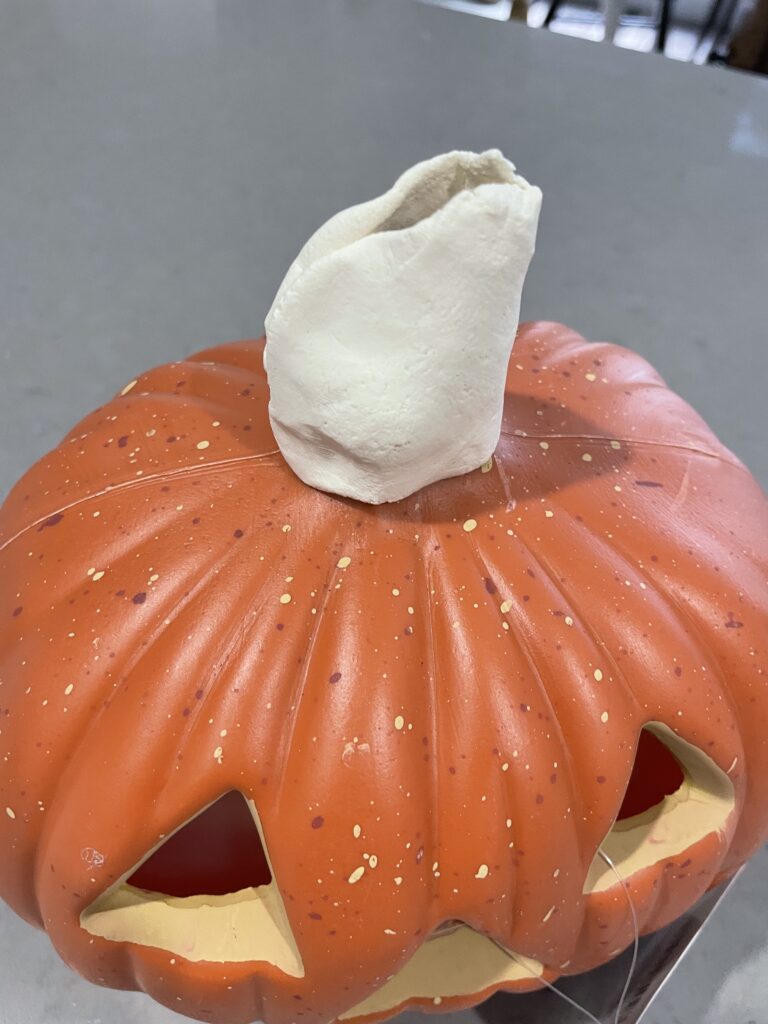
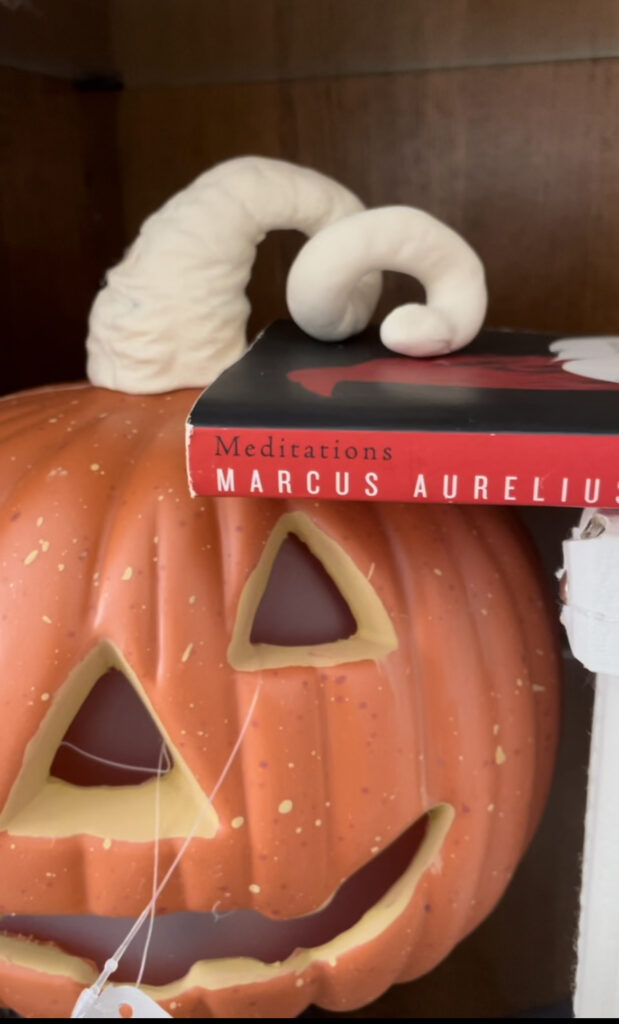
The second part is the stick that goes on top. I curled the stick around a wooden spoon and let that dry overnight. A book helped it keep its shape until it dried.
The next part is paint. I used black chalk paint. If you wanted the natural terracotta orange color HERE is one that is already mixed. The key is making sure it is chalk paint. I thought one coat was enough until I turned the pumpkin light on. Save a step and make sure you have an even coat with the pumpkin lit up.
the texture
There are a lot of products you can use for texture. Rustoleum makes a stone texture spray but you can also use drywall spackle. I skipped this step because I wanted to see what it would be like using simple white chalk. Let me tell you it was so easy to add dimension this way. Grab your chalk and draw away on the places you want dimension and texture. Then you wipe the chalk off with a rag. The look was exactly what I wanted but without the mess. Yay!!
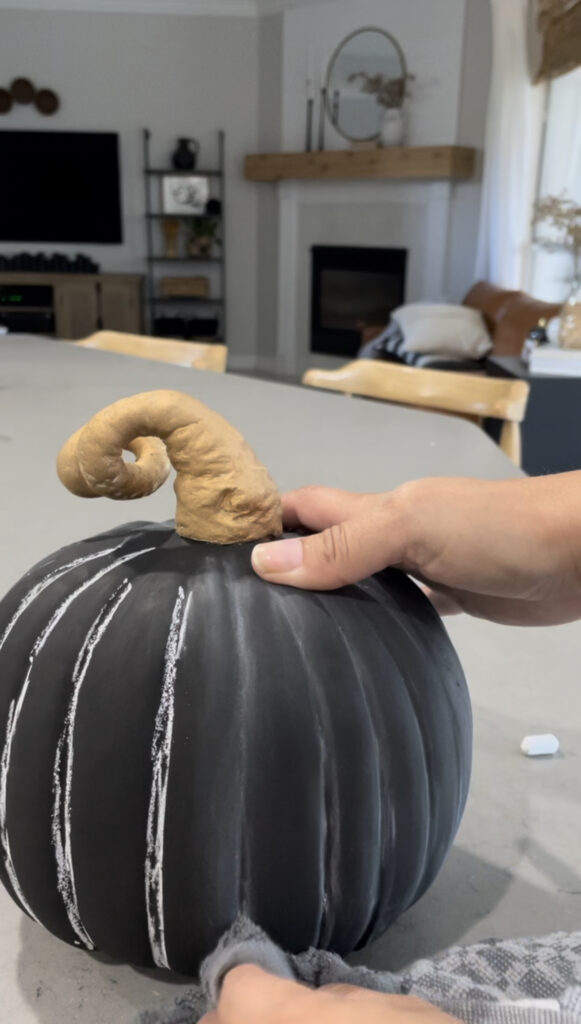
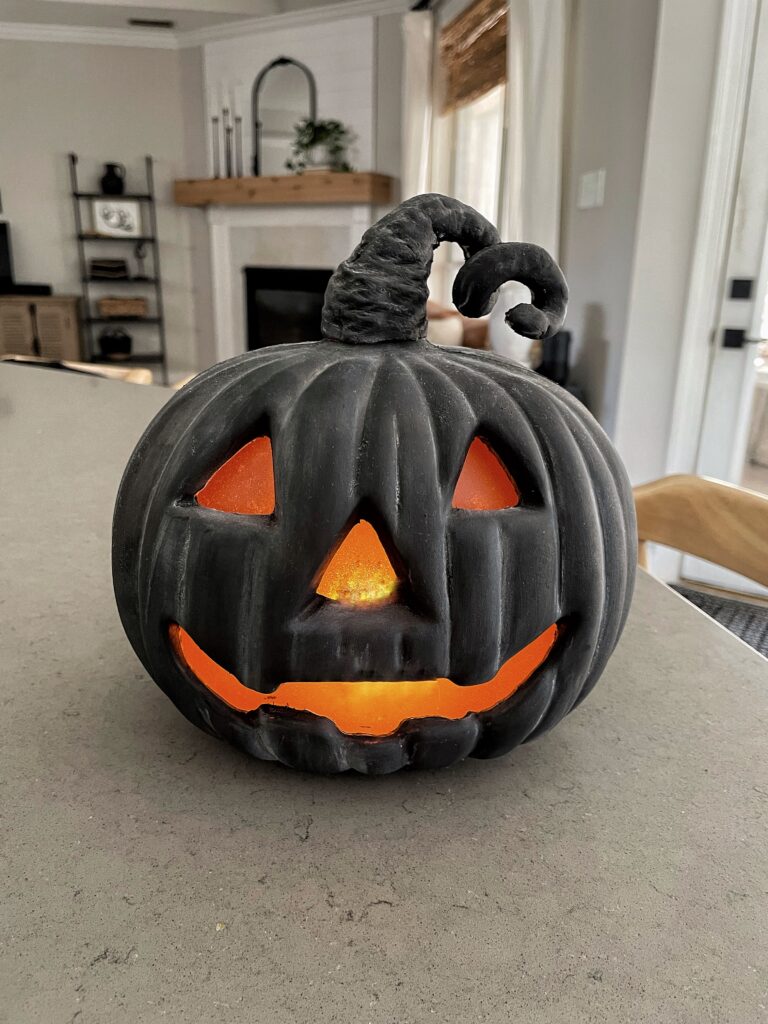
Here is the final look. What do you think? I think this little guy needs a tall friend and a fat short friend to complete the Pottery Barn set. I know it’s not exactly the same but it’s less $$$ and less mess. Keep in mind you can add more chalk and texture to suit your preference.


[…] If you want to skip the spackle and just paint and add dimension with chalk follow THIS DIY. […]